Your Free Mini-Course
Let’s Paint
a transparent butterfly
I’m so happy you’re here.
In this two-part mini-course, I’ll take you through my complete process for painting this delicate butterfly — from the first transparent washes to the tiny details that bring the wings to life.
Take a little time for yourself, settle in with your watercolors, and let’s paint together.

Before lesson one
Get Your Materials Ready
Here are the pigments and brushes I use in the lessons, so you can follow along exactly if you wish. But there’s no need to have the same ones — use the colors and brushes you already have, and feel free to make the butterfly completely your own.
Your palette
The Pigments I Use
These are the colors I use in the lesson, but feel free to substitute similar pigments — or choose a completely different palette for your butterfly.
Sennelier 680 Permanent Magenta (Pv19)
Rembrandt 367 Quinacridone Rose Reddish (PV19)
Rembrandt 749 Spinel Grey (PBk26) or
Sennelier 703 Payne’s Grey (PV19, PB15:1, PBk7)
Your brushes
The Brushes I Use
These are the brushes I use, but you don’t need the exact same ones. Choose the closest brushes you have — a good sharp tip is more important than the brand.
Round squirrel mop brush no.2
Kolinsky sable brushes no.5 and no.3
Synthetic liner brush no.1
One material I would not compromise on
Your watercolor paper matters
I mainly paint on 100% cotton paper or a cotton-blend paper. Cotton allows the washes to dry more slowly, giving you more time to work with the water and pigment and create smooth, transparent layers.
For this technique, choose hot-pressed or cold-pressed paper rather than rough. A smoother surface makes it much easier to create the clean, precise edges and delicate shapes we’ll be working with.
If your watercolor behaves differently from mine during the lesson, don’t immediately assume you’re doing something wrong. The paper can make a surprisingly big difference.
I use: Lanaquarelle / 100% cotton / Hot press / 300g
Lesson 01
Prepare Your Butterfly for Painting
Before we begin with watercolor, I’ll take you through the preparation process I use for my own artwork.
We’ll look at the materials and photo reference, trace the butterfly onto transparent paper, transfer the drawing to watercolor paper, and carefully refine the pencil lines before we paint.
Taking a little time here gives us the clean, accurate foundation we need for the delicate watercolor layers that come next.
Lesson 02
Painting the Transparent Butterfly
I’ll show you how I work with water and pigment to build the butterfly gradually, layer by layer — preserving the light, deepening the contrast and adding the delicate details that bring the wings to life.
Pay attention not only to where I place the paint, but to how wet the paper is, how much pigment is on my brush, and when I allow a layer to dry.
Those small decisions are what begin to turn watercolor from guesswork into something you can understand and control.
If some parts felt challenging
Watercolor Gets Easier When You Understand What’s Happening on the Paper
The butterfly brings several watercolor skills together at once. If your result didn’t look quite like mine, it doesn’t mean this style is beyond you.
In Transparent Flowers, I separate these skills and teach them through simple, focused exercises — so you can understand what the water and pigment are doing before bringing everything together in a finished painting.
Transparency and layers
Learn to Control a Wash

Start with simple shapes and learn how much water and pigment to use, how to create an even transparent wash, control the edges, and build color gradually through layers.
Color and transitions
Understand How Color Behaves

You’ve followed beautiful tutorials before, but still wonder why the artist’s paint behaves differently from yours.
Wet on wet
Learn the Right Moment to Paint

You want to slow down, see the process clearly, and understand what’s happening on the paper as you paint along.
These exercises may look simple. But they answer the little questions that can make watercolor feel unpredictable: How wet should the paper be? How much pigment do I need? When should I add the next color? When should I leave the wash alone?
Continue painting with me
Ready to Take Your Watercolor Further?
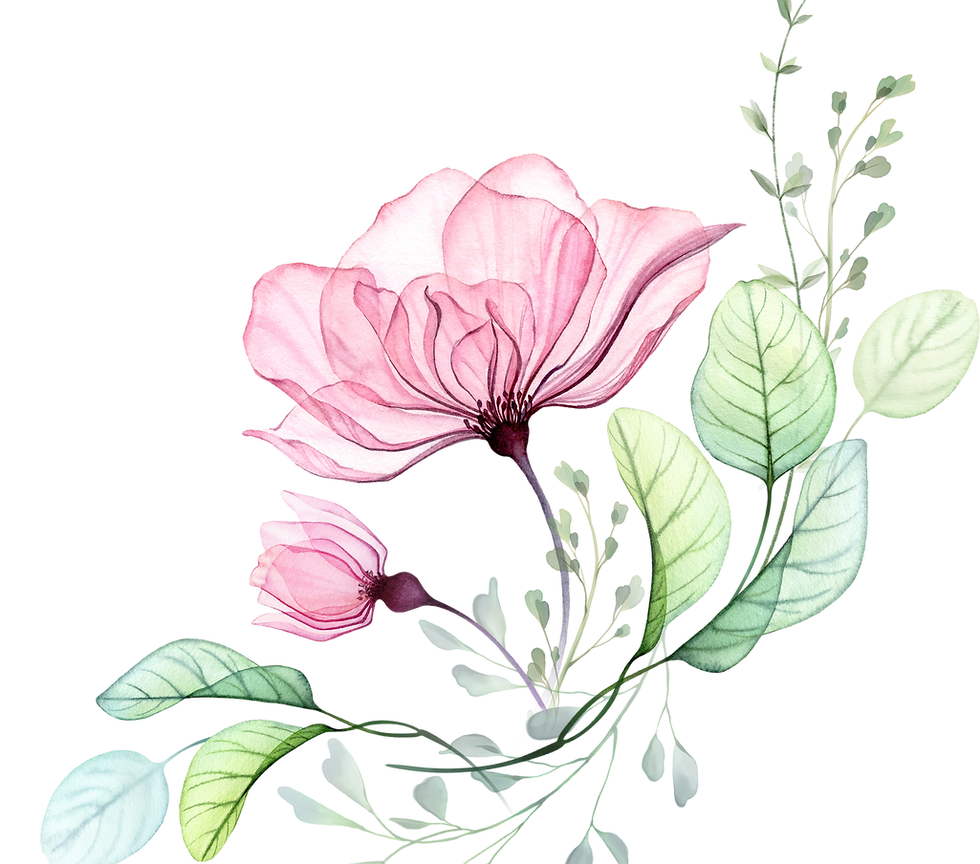
You’ve been looking at this Magnolia throughout our mini-course.
If you’ve wondered how those luminous, transparent petals are created — and you’d like to understand the complete process behind them — that’s what we explore inside Transparent Flowers.

One last thing
Keep Making Time for Art
Whatever you decide to paint next, I hope you keep a little space in your life for creating.
For the pleasure of watching water and color move across the paper. For the satisfaction of learning something new. And sometimes, simply for the joy of making something beautiful with your own hands.
Thank you for spending this little piece of creative time with me. I hope we paint together again.
With love,
Katerina